AIGC技术不断更新迭代,国内出现了越来越多的新玩法,比如最近大家都在热议的AI绘画创意文字。
过去的一周,我把这些新玩法都研究了一遍,并总结了一套完整的制作流程。
主流的创意文字玩法主要分为四类:
- 光影文字
- 嵌入文字
- 隐藏文字
- 海报文字
每种类型的文字制作流程大致都是这四步
制作文字底图
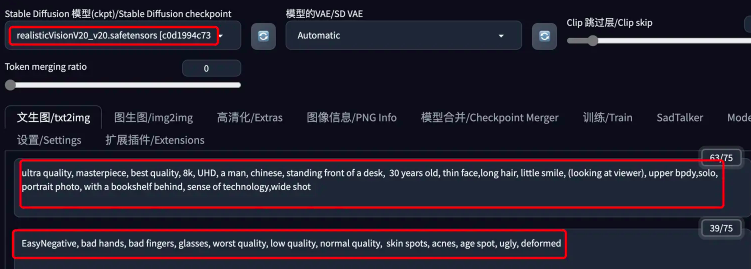
选取大模型
写关键词(Prompt)
ControlNet参数设置
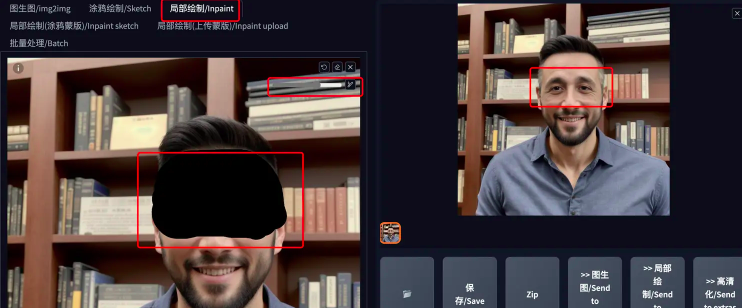
核心:文生图+文字底图(ControlNet)
本教程用到的所有资料,我都已经整理好放在文章末尾的网盘链接里,你不需要花费很多时间和精力去寻找了。
我在整理这些内容上花了很多时间,希望它们能对你有所帮助。
下面直奔主题:
通用部分实操
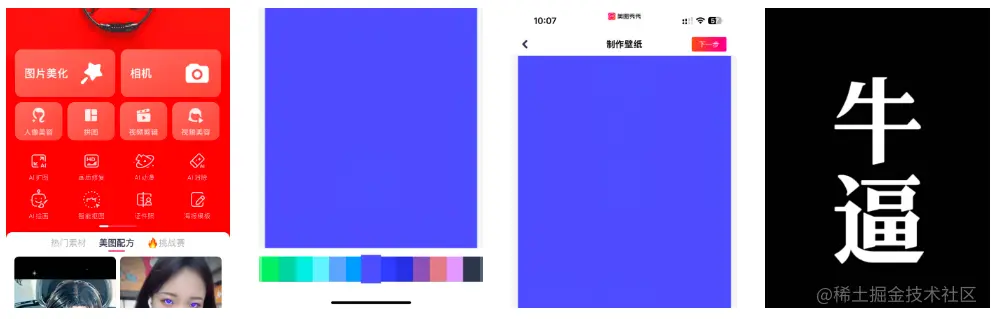
制作文字底图
美图秀秀,PS都可以,我这里使用的是不专业的美图秀秀
海报文字、嵌入文字用白底黑字
隐藏文字、光影文字用黑底白字
打开美图秀秀=》图片美化=》制作壁纸=》选择背景颜色=》下一步(进行文字编辑,不过多介绍)
选取大模型:
真人图片就用: majicmixRealistic,chilloutmix
其他用: revAnimated,realisticVision,deliberate
本文中所用到的所有模型资料,都会给大家打包整理好,放在文末的网盘链接里
有精力和时间的,大家可以多尝试,或许会抽到意想不到的效果。
1.光影文字实操:
1.1 制作底图(黑底白字):
这个图好像有点吓人
1.2 选取大模型:
选真实感大模型(majicRealistic或者chilloutmix)
1.3 写关键词(Prompt):
城市建筑通用词:
Best quality, ultra high definition, masterpiece, ultimate details, 8K,
Urban night view, buildings, cars, headlights, streets, roads, water reflection
最好的质量,超高清,杰作,极致细节,8K,
城市夜景,建筑,汽车,前灯,街道,道路,水反射
人物通用词:
The highest quality, masterpiece, ultimate detail,
1 girl, beautiful, full body, long skirt, standing with hands in pockets
最高的质量,杰作,极致细节,
1个女孩,漂亮,全身,长裙,站着,双手插在口袋里
①先写画面质量
②然后写小姐姐的外型描述
③最好加上一些“阳光”、“光和阴影”、“明暗对比”之类的词,并且加一点权重
sunlight, light and shadow, chiaroscuro
正面关键词:
((masterpiece)),(highres:1.3), (((best quality))), ((ultra-detailed)), ((illustration)),(photorealistic:1.3),(realistic:1.4),(Cinematic Lighting:1.3),
aynamic angle,in the winter,(snow white forest:1.1), hazy mist,,(on the hot springs:1.3) ,(many thin detailed snowflakes:1.3), (bloom), (shine), (twinkling stars:), (snowing), many white tree, detailed snowflakes,
cowboy shot,
(1 girl),(((solo))),running,(between legs:1.3),
(chinese girl:1.1),
hanfu,hanfugirl, beautiful detailed eyes,(black eyes:1.2),,(pale firered hair:1.3),light smile,
(big breasts:1.1),
,(beautiful detailed face:1.3),(cute), blushing,, light smile, makeup ,lipstick,detailed clothes,,(pale red transparent tight floral qipao dress:1.35),
(white fishnet thighhighs:1.25).
sunlight, light and shadow, chiaroscuro
负面关键词:
(cleavage:1.4),(Multiple people),(((simple background))),monochrome ,lowres, bad anatomy, bad hands, text, error, missing fingers, extra digit, fewer digits, cropped, worst quality, low quality,
normal quality, jpeg artifacts, signature, watermark, username, blurry, lowres, bad anatomy, bad hands, text, error, extra digit, fewer digits, cropped, worst quality, low quality, normal quality, jpeg artifacts, signature, watermark, username, blurry, ugly,pregnant,vore,duplicate,morbid,mut ilated,tran nsexual, hermaphrodite,long neck,mutated hands,poorly drawn hands,poorly drawn face,mutation,deformed,blurry,bad anatomy,bad proportions,malformed limbs,extra limbs,cloned face,disfigured,gross proportions, (((missing arms))),(((missing legs))), (((extra arms))),(((extra legs))),pubic hair, plump,bad legs,error,legs,username,blurry,bad feet ,(cleavage:1.4)
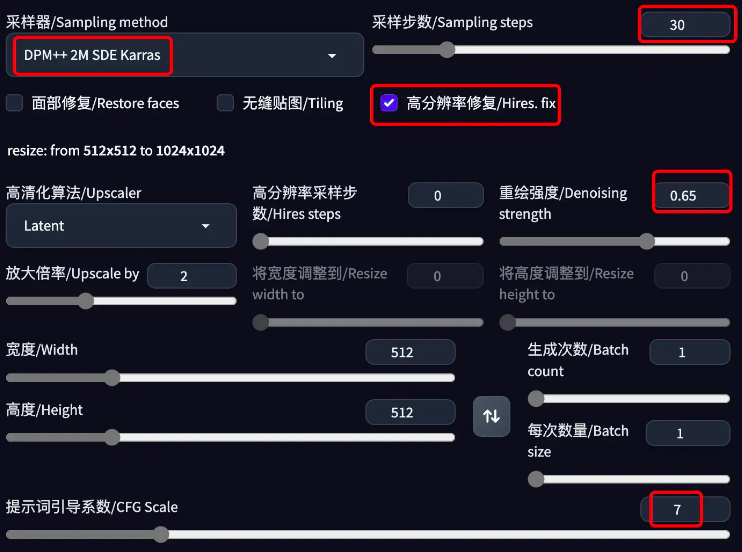
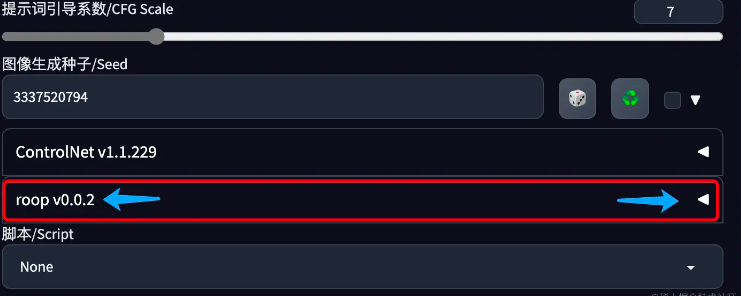
1.4 重要的ControlNet参数设置
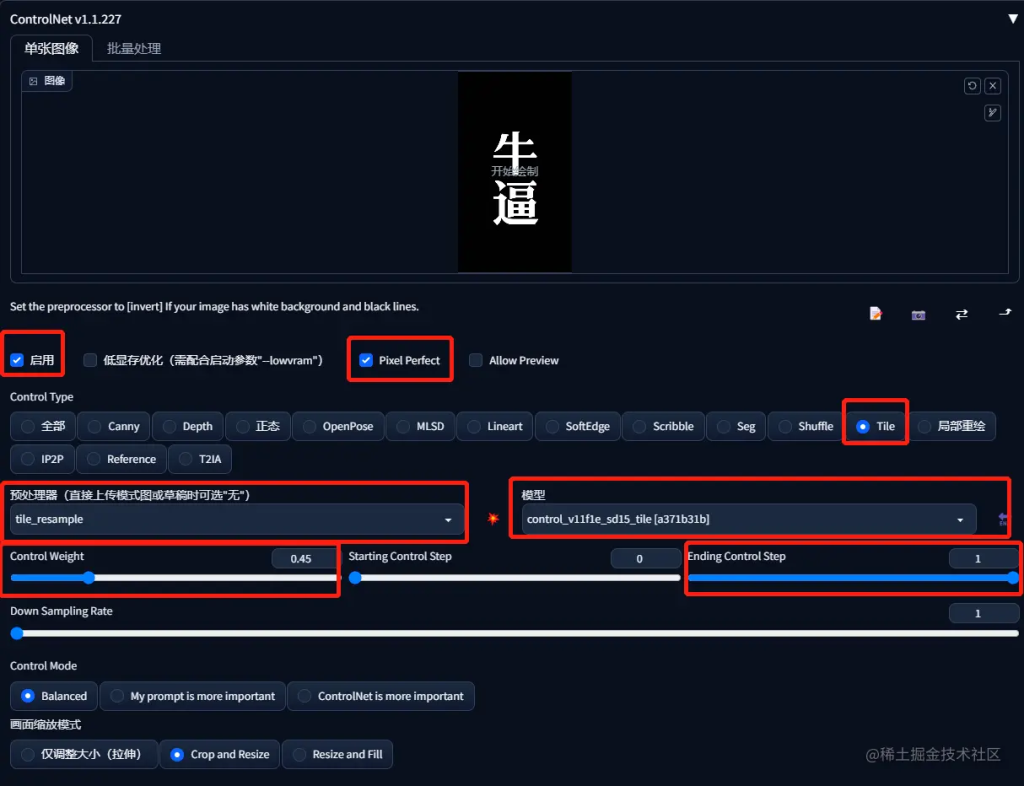
我用的是tile模型
需要特别注意的就是控制权重(Control Weight) 和引导终止时机(Ending Control Step)
控制权重(Control Weight) :设置在0.35~0.55之间
引导终止时机(Ending Control Step) :0.7~1,越接近 1 字越清晰
没有固定的参数,不同的字需要分别调整,只能自己多试试
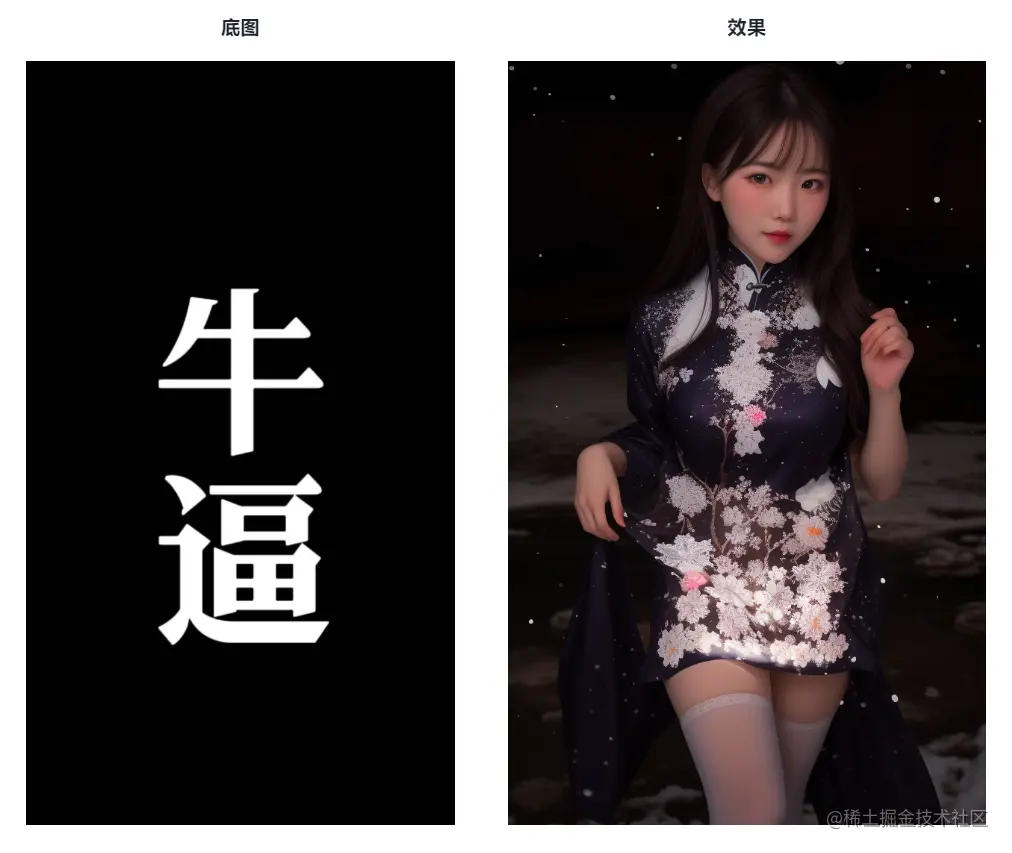
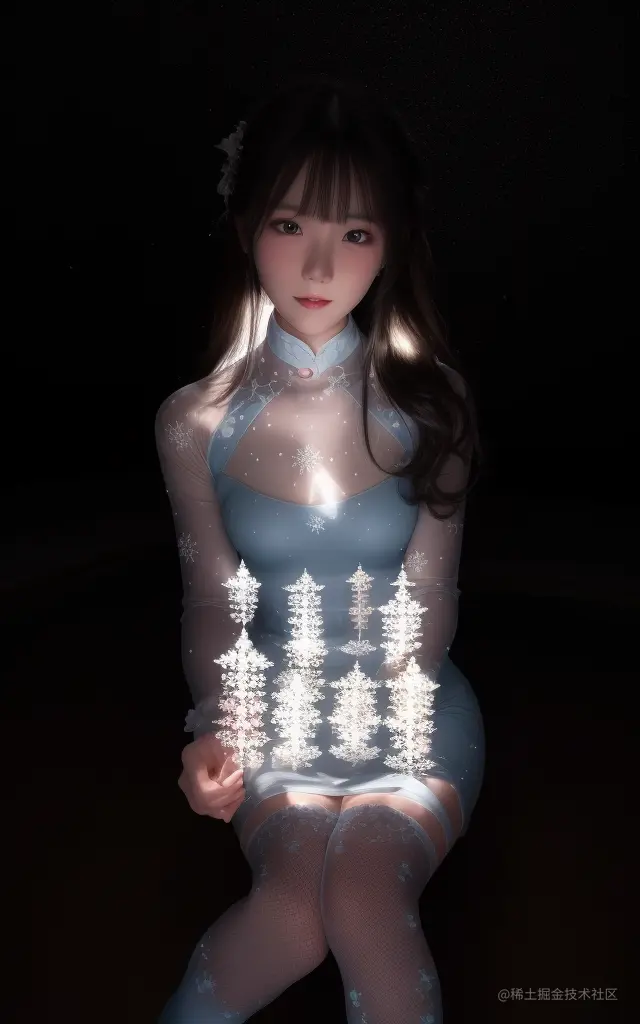
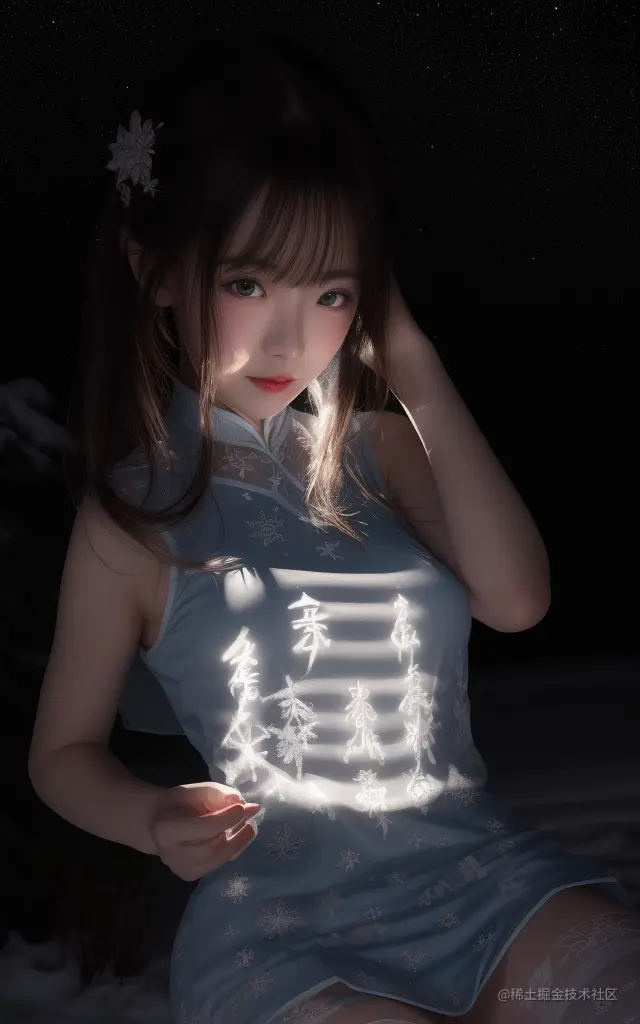
1.5 最终效果:

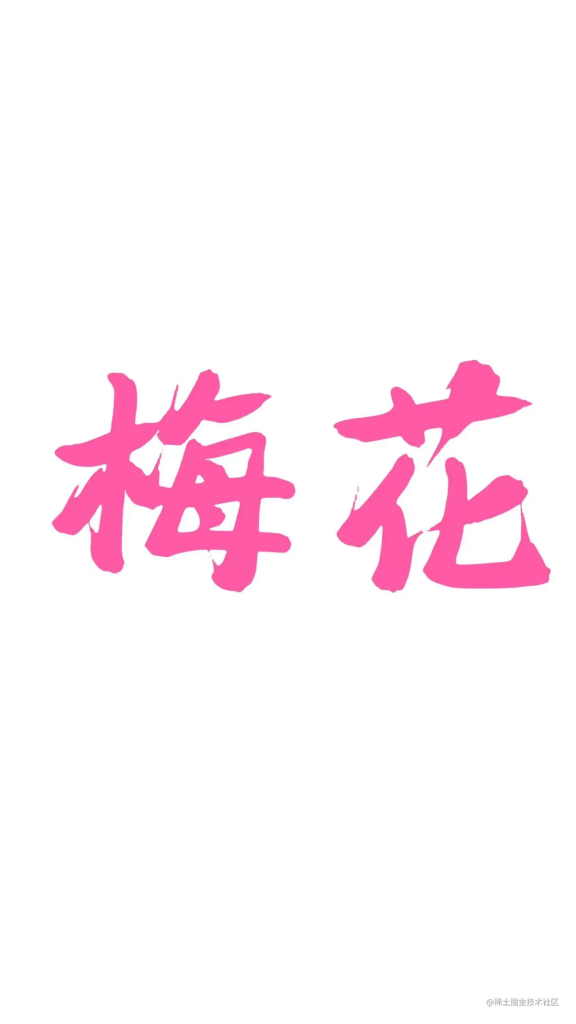
2.嵌入文字实操:
2.1 制作底图(白底黑字):
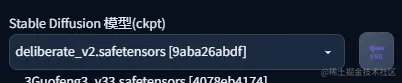
2.2 选取大模型
这里选择的是:deliberate,其他的revAnimated,realisticVision 也可以尝试
2.3 写关键词(Prompt)
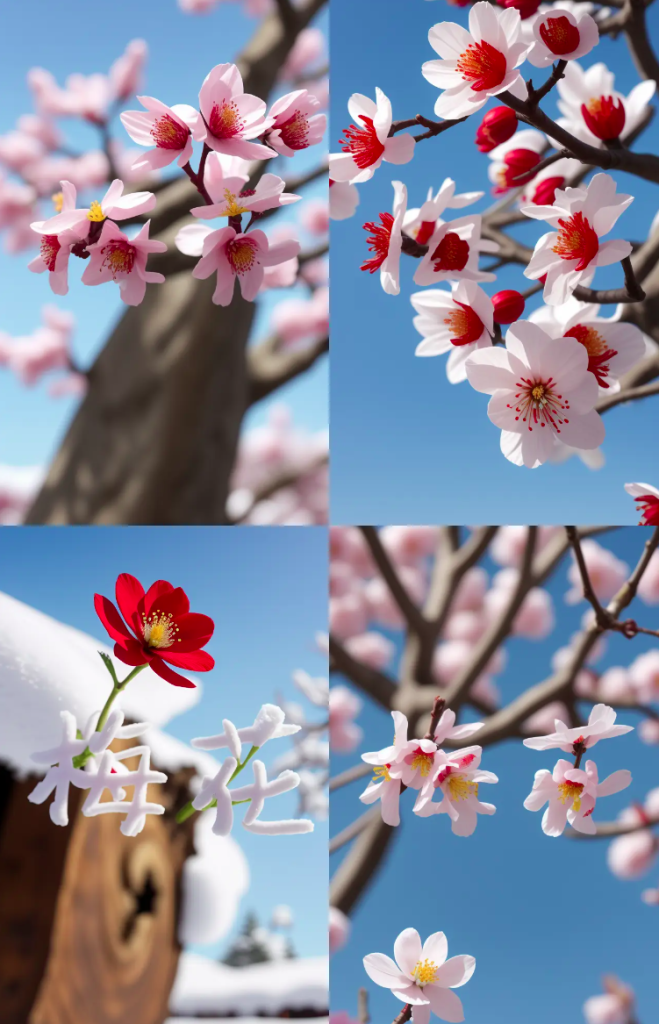
梅花、红色、花瓣、冬天、雪白背景、古老树干、明亮蓝天、坚韧、生动、活力
Plum Blossom, Red, Petals, Winter, Snowy Backdrop, Ancient Trunk, Bright Blue Sky, Resilient, Vibrant, Dynamic
正面关键词:
Best quality, ultra high definition, masterpiece, ultimate details, 8K,
Plum Blossom, Red, Petals, Winter, Snowy Backdrop, Ancient Trunk, Bright Blue Sky, Resilient, Vibrant, Dynamic
负面关键词:
我这里找了一个关于景色的负面词:
(normal quality), (low quality), (worst quality), paintings, sketches,fog,signature,soft, blurry,drawing,sketch, poor quality, uply text,type, word, logo, pixelated, low resolution.,saturated,high contrast, oversharpened,dirt,
2.4 重要的ControlNet参数设置
接着就是controlnet的选择,这里就要选 canny,lineart,softedg,scribble 这些线稿的模型
在我实际测试下来,canny和scribble出来的效果都还可以,大家可以优先尝试这两个模型
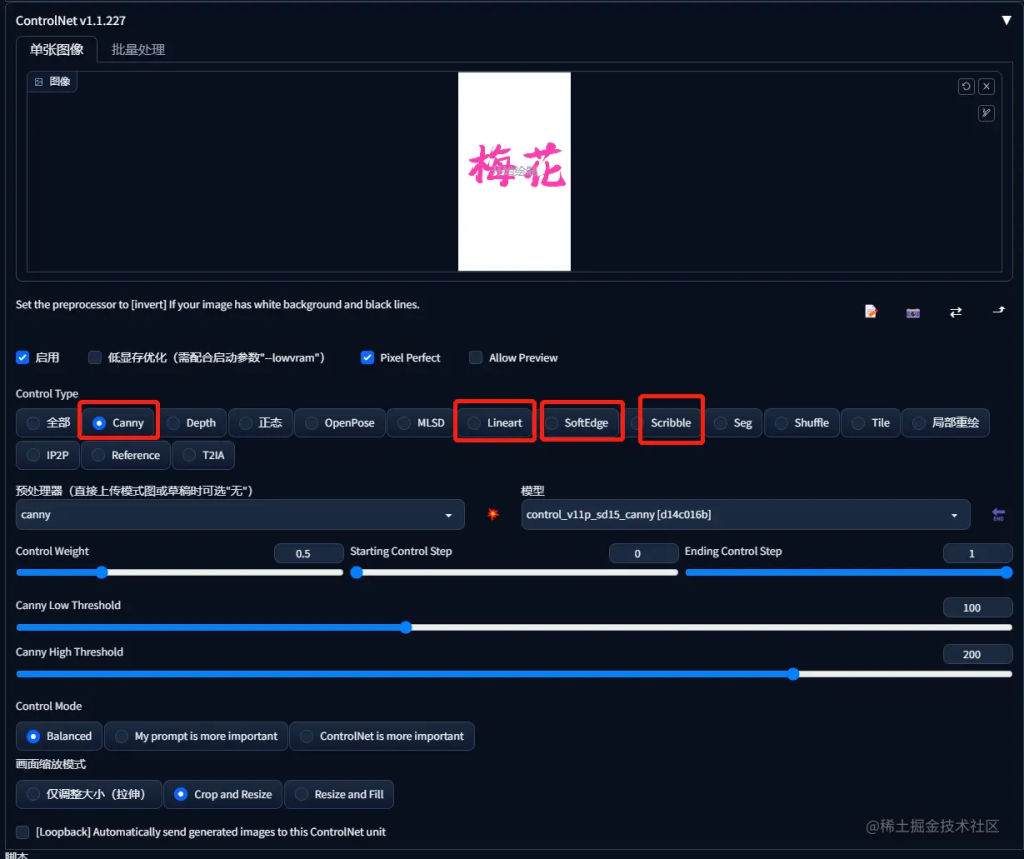
降低权重,这样文字才能更好和场景融合到一起
可以把权重设置到 0.65~0.85 之间,想要文字更加突出权重就加大
2.5 最终效果
3.隐藏文字实操:
黑底白字
3.1 制作底图(黑底白字):
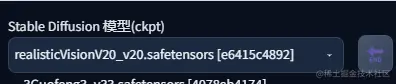
3.2 选取大模型
我这里选择的realisticVision,其他的也可以尝试:deliberate,revAnimated
3.3 写关键词(Prompt):
关键词: 英文:Oriental Pearl Tower, Dazzling Light, Night Sky, Spherical Structure, Skyline, Skyscrapers, Huangpu River, Bright Pearl, Shanghai.
中文:东方明珠、炫目光芒、夜空、球体结构、天际线、摩天大楼、黄浦江、璀璨明珠、上海。
正面关键词:
Best quality, ultra high definition, masterpiece, ultimate details, 8K,
Urban night view, buildings, cars, headlights, streets, roads, water reflection
Oriental Pearl Tower, Dazzling Light, Night Sky, Spherical Structure, Skyline, Skyscrapers, Huangpu River, Bright Pearl, Shanghai
负面关键词:
(normal quality), (low quality), (worst quality), paintings, sketches,fog,signature,soft, blurry,drawing,sketch, poor quality, uply text,type, word, logo, pixelated, low resolution.,saturated,high contrast, oversharpened,dirt,
3.4 重要的ControlNet参数设置
注意:controlnet的参数设置比较重要
这里我们需要下载一个新的controlnet模型
模型可以在文末的网盘下载
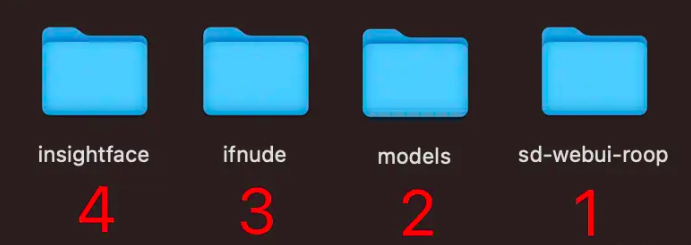
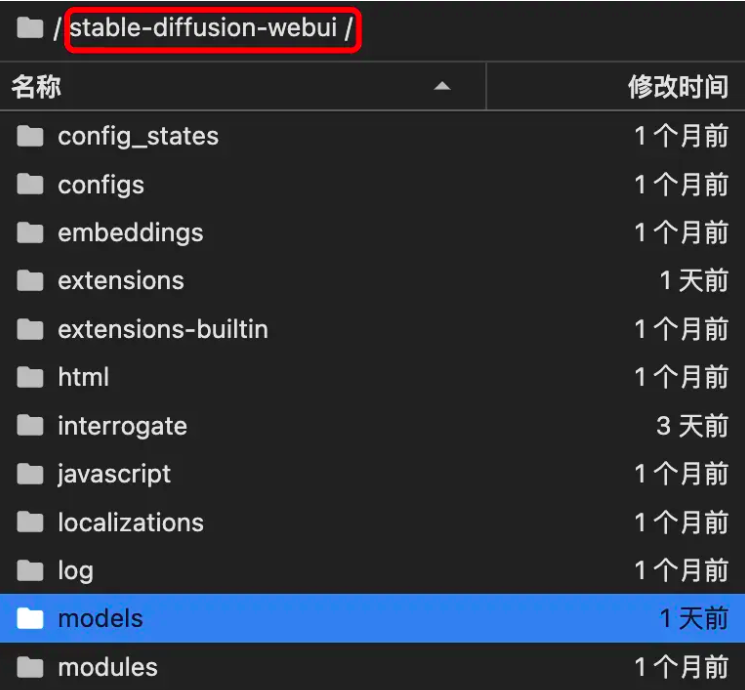
模型存放位置:sd目录 \ models \ ControlNet
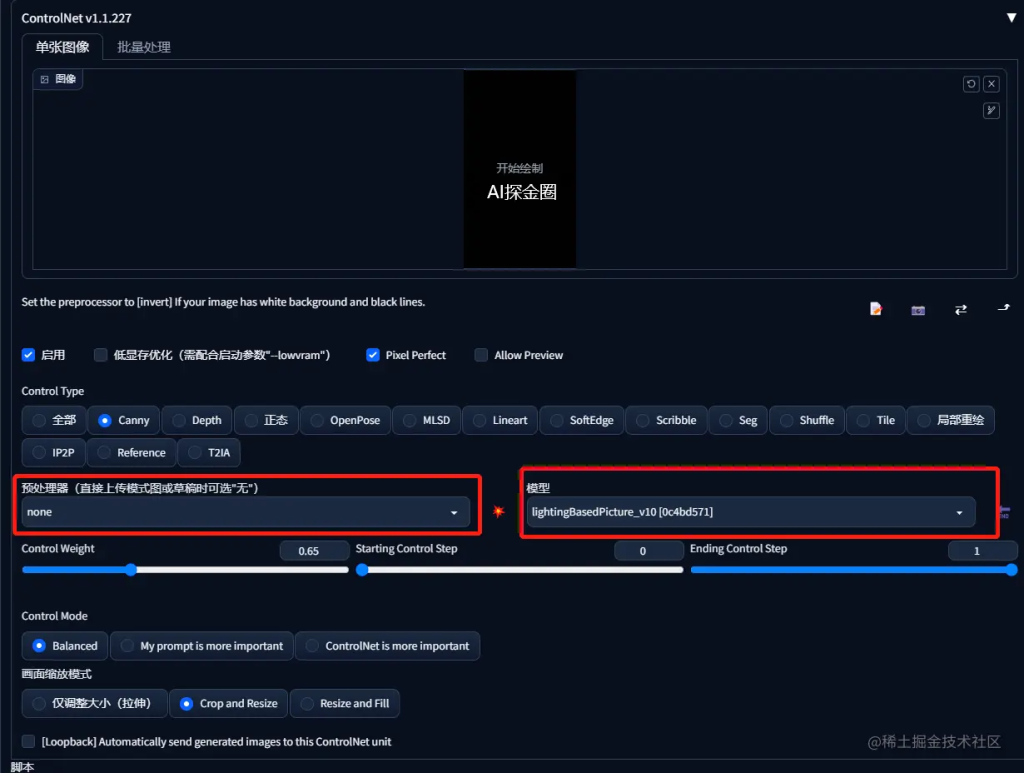
不需要预处理器,模型就选我们新下载的
特别要注意的是控制权重,只要在0.45~0.65之间就可以了
控制权重可以多来回试试效果,需要字清晰一点权重就大一点
3.5 最终效果
效果不是太好,可以慢慢的调节参数。
4.海报文字实操:
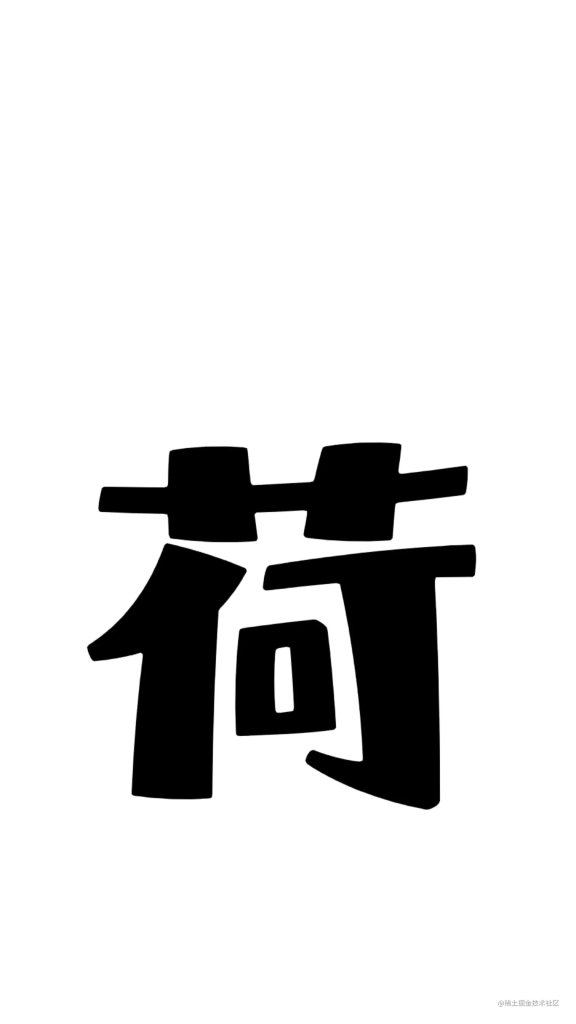
4.1 制作底图(白底黑字):
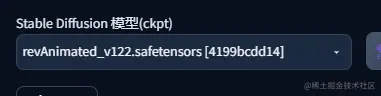
4.2 选取大模型
我这里选择的是:revAnimated
4.3 写关键词(Prompt):
描述: 这幅画描绘了一池生机勃勃的荷花。在画面中心,一朵荷花在阳光下展开,粉红色的花瓣像丝绸般光滑,散发着淡淡的清香。绿色的荷叶如伞般展开,浮在宁静的池水上。几只蜻蜓在荷叶间穿梭,增添了一份夏日的热烈。远处,是微风吹动的芦苇和淡蓝色的天空,构成了完美的背景。
关键词: 英文:Lotus, Pink Petals, Sunshine, Green Leaves, Pond, Dragonflies, Reeds, Light Blue Sky, Serene, Summer.
中文:荷花、粉红色花瓣、阳光、绿色荷叶、池塘、蜻蜓、芦苇、淡蓝色天空、宁静、夏日。
正面关键词:
Best quality, ultra high definition, masterpiece, ultimate details, 8K,
Lotus, Pink Petals, Sunshine, Green Leaves, Pond, Dragonflies, Reeds, Light Blue Sky, Serene, Summer,
负面关键词:
我这里依旧使用上面的关键词:
(normal quality), (low quality), (worst quality), paintings, sketches,fog,signature,soft, blurry,drawing,sketch, poor quality, uply text,type, word, logo, pixelated, low resolution.,saturated,high contrast, oversharpened,dirt,
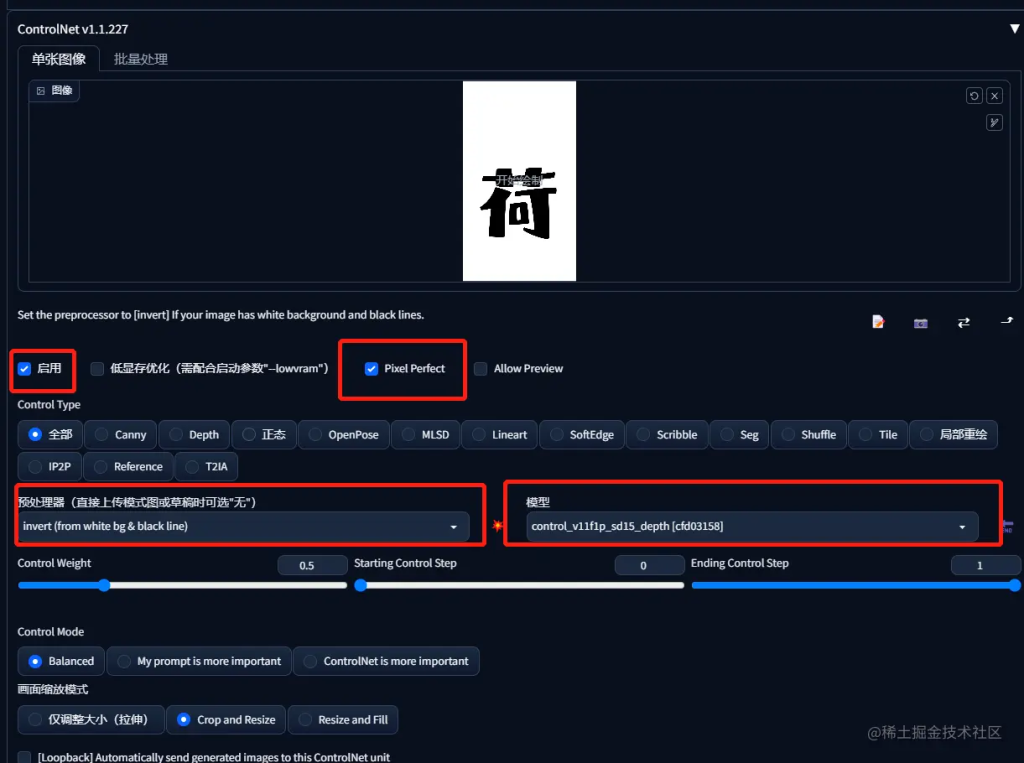
4.4 重要的ControlNet参数设置
预处理器选invert
模型选depth
知识补充 :
如果是生成液体材质的文字,比如牛奶,可以用canny,lineart,softedg,scribble这几个线稿
然后稍微降低一点controlnet的控制权重(0.6~0.8之间)
这样出来的文字就会有液体飞溅的感觉